i11g - Updating an Immutable Blog
We needed a blog for dAppling. One of our important marketing efforts revolves around writing engaging and helpful content. The aim of this is to show two things:
- We know things.
- We share things.
Not only that, but we like to help people in ways that we can. Sharing knowledge, for me, gives great joy.
High-level Goals
So the question is, how can we use the things we know to host and share those things in a way that is:
- Search Engine Optimization (SEO)
- Pretty
- Easy to update
Search Engine Optimization (SEO)
We have posted articles on dev.to, but wanted stronger search on our own domain. The ideation started a few days ago because dev.to does not allow us to use a custom domain. After reading an article advocating to Publish (on your) Own Site, Syndicate Elsewhere
the practice of posting content on your own site first, then publishing copies or sharing links to third parties (like social media silos) with original post links to provide viewers a path to directly interacting with your content.
So the site is hosted on our domain, that’s wonderful. Further, the content is statically generated, which means easier to crawl.
Pretty
I went through the templates on the 11ty starter projects page and found this awesome “Bliss” template by Łukasz Wójcik on GitHub. I think it’s pretty. Thanks, Łukasz!
Easy to Update
This was a consideration because if other people on our team want to update the blog, it needs to be straightforward enough to not get in anyone’s way. Since this is all Markdown, along with this blog post commit, it should be pretty self-explanatory to duplicate an article.
Don’t Get me wrong!
I know there are many options to write blogs that are more optimized than what I’m suggesting here. There’s Medium, Substack, the aforementioned dev.to, Ghost, the list really goes on, but there’s a desire of mine to make something that’ll be compatible with our current infrastructure at dAppling, and I’m having fun. This is the best I have come up with, but do note, I’ve not exhausted all the web’s offerings!
Implementing this yourself
I’m using this blog post as a way to explain-by-doing. Here’s my workflow, from concept to creation.
Create your Content
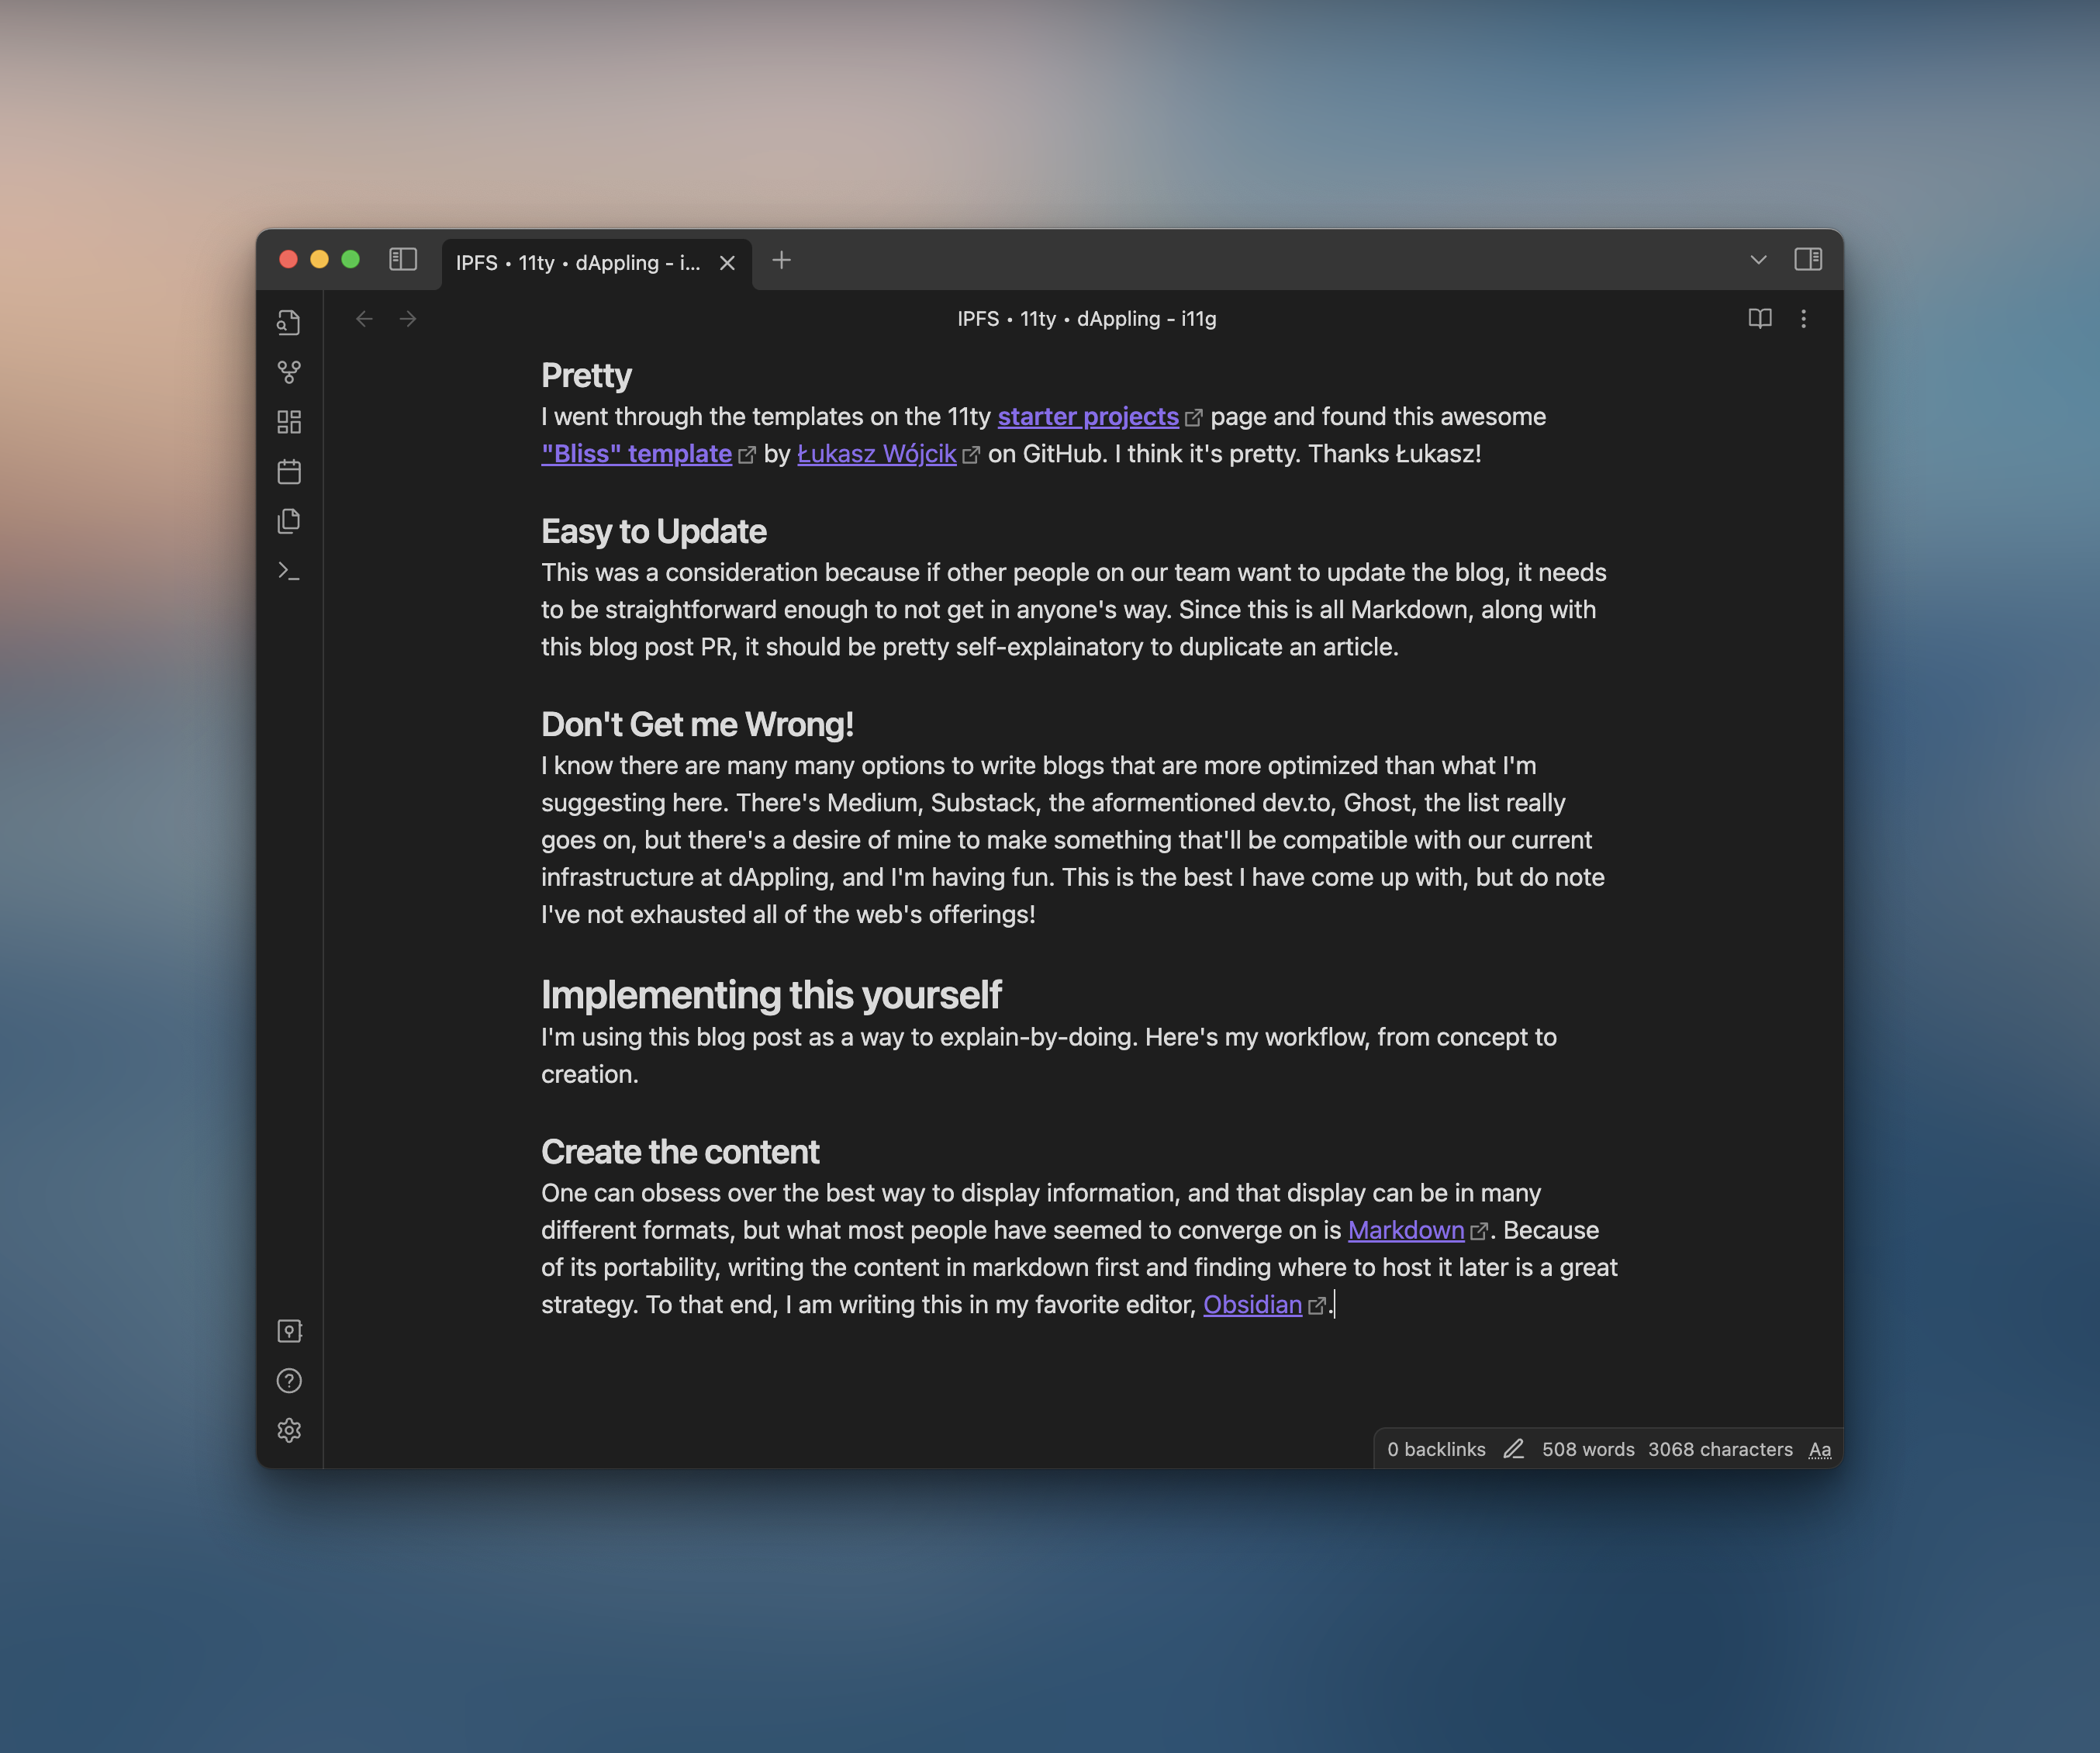
One can obsess over the best way to display information, and that display can be in many different formats, but what most people have seemed to converge on is Markdown. Because of its portability, writing the content in markdown first and finding where to host it later is a great strategy. To that end, I am writing this in my favorite editor, Obsidian.
Manage your Files
First, clone the “Bliss” template and open it up locally in your favorite file editor. When managing the files while writing the blog post, it will be helpful to run the website in development mode.
npm i # first install dependencies
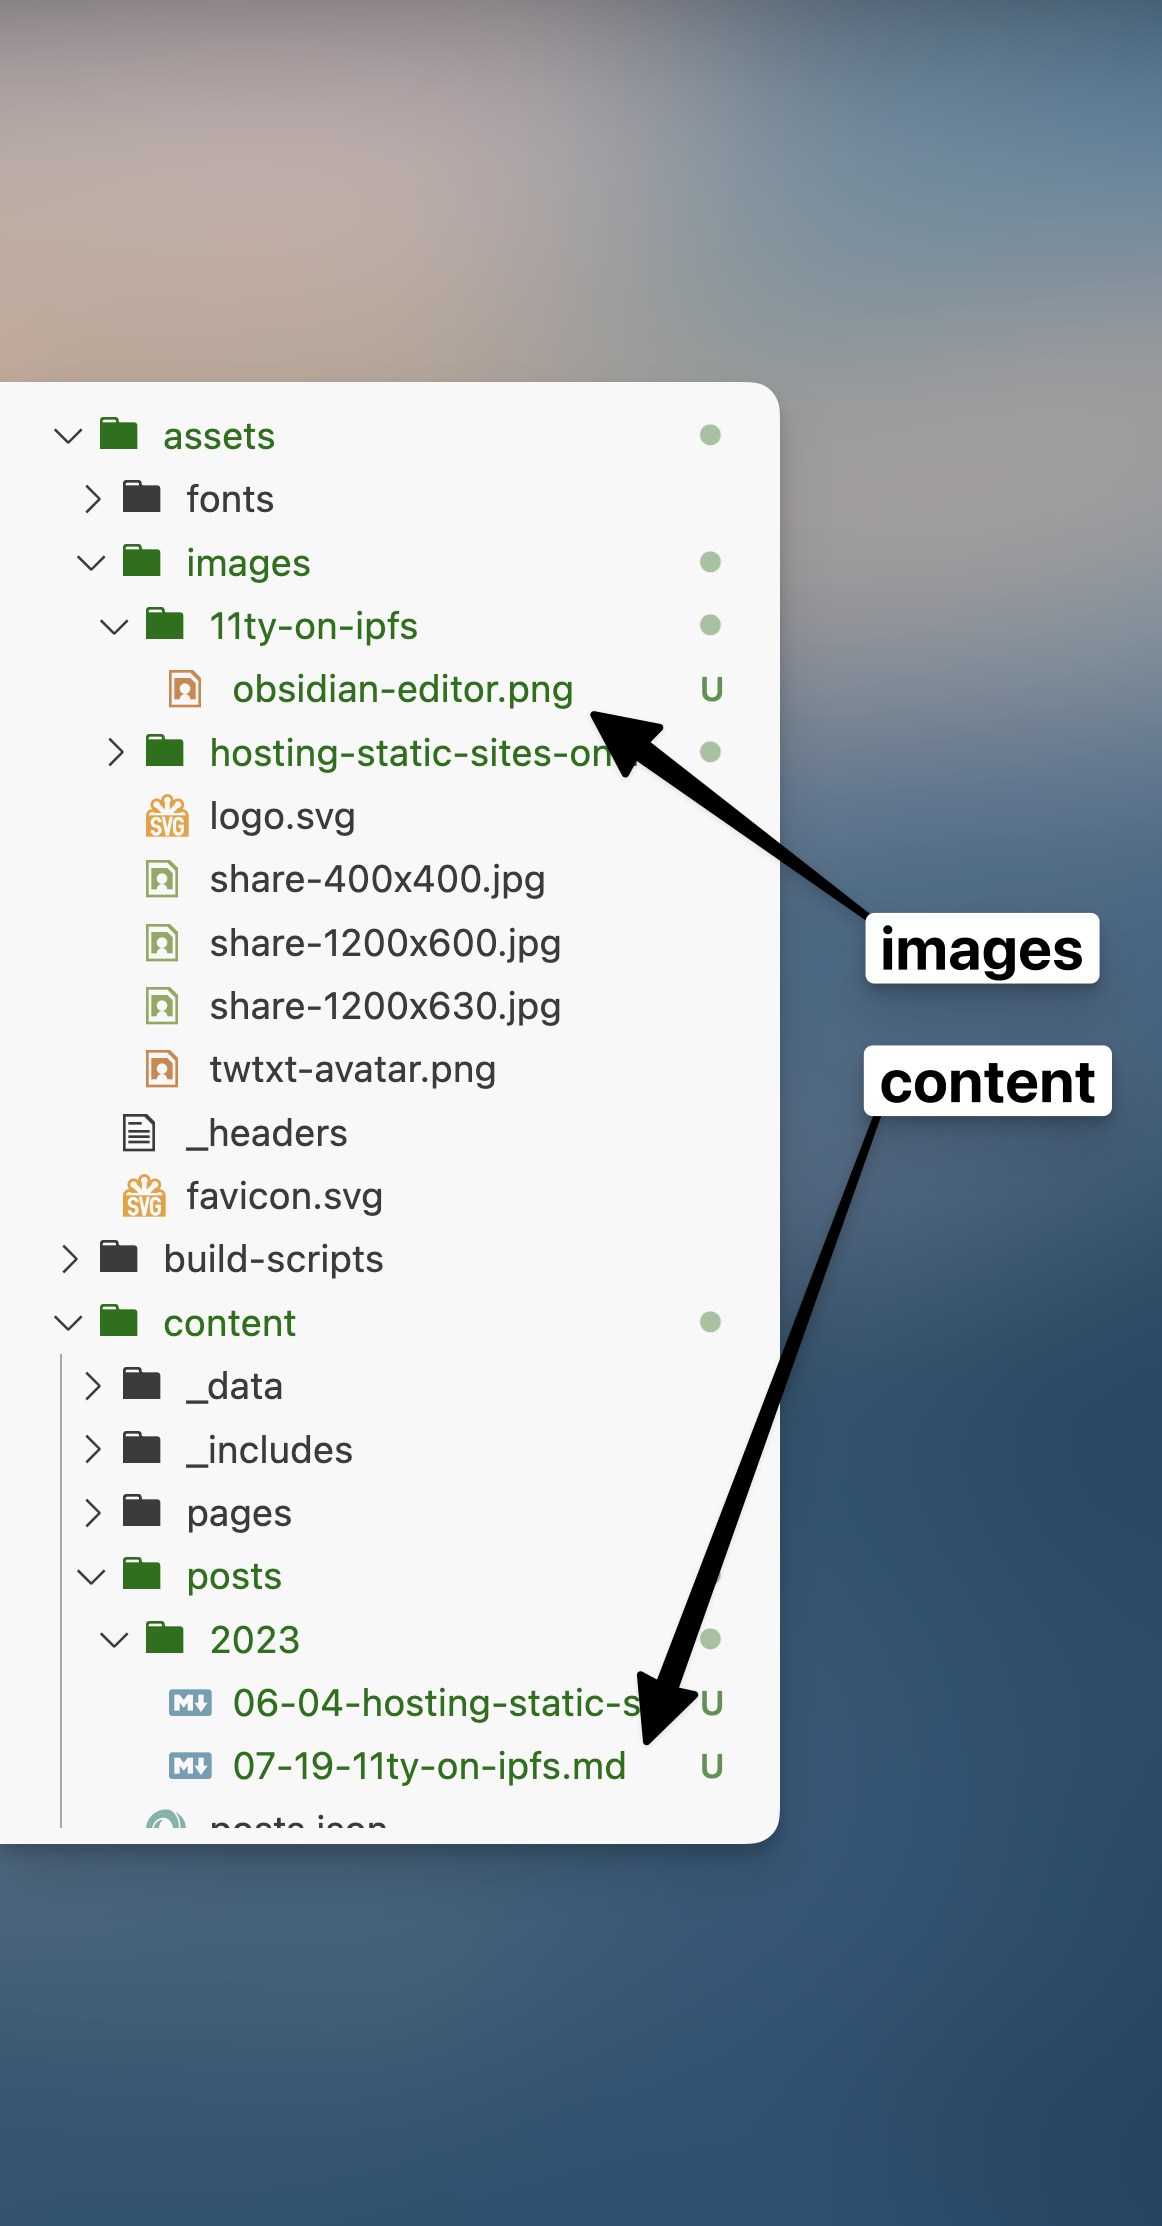
npm run dev # start a local serverTo manage the files, you have images and content.
- For images, I created a folder for the specific blog post and the related images go into this dedicated folder. The image above is then referenced as:
 - Content goes into the posts’ folder with the markdown, saved as
07-19-11ty-on-ipfs.md, the date and title.
And that’s it! After running the server, the content with images should now be viewable at http://localhost:8080/<post title>/ because the template we are using, thanks to 11ty, creates that route for us.

Create your dAppling Project
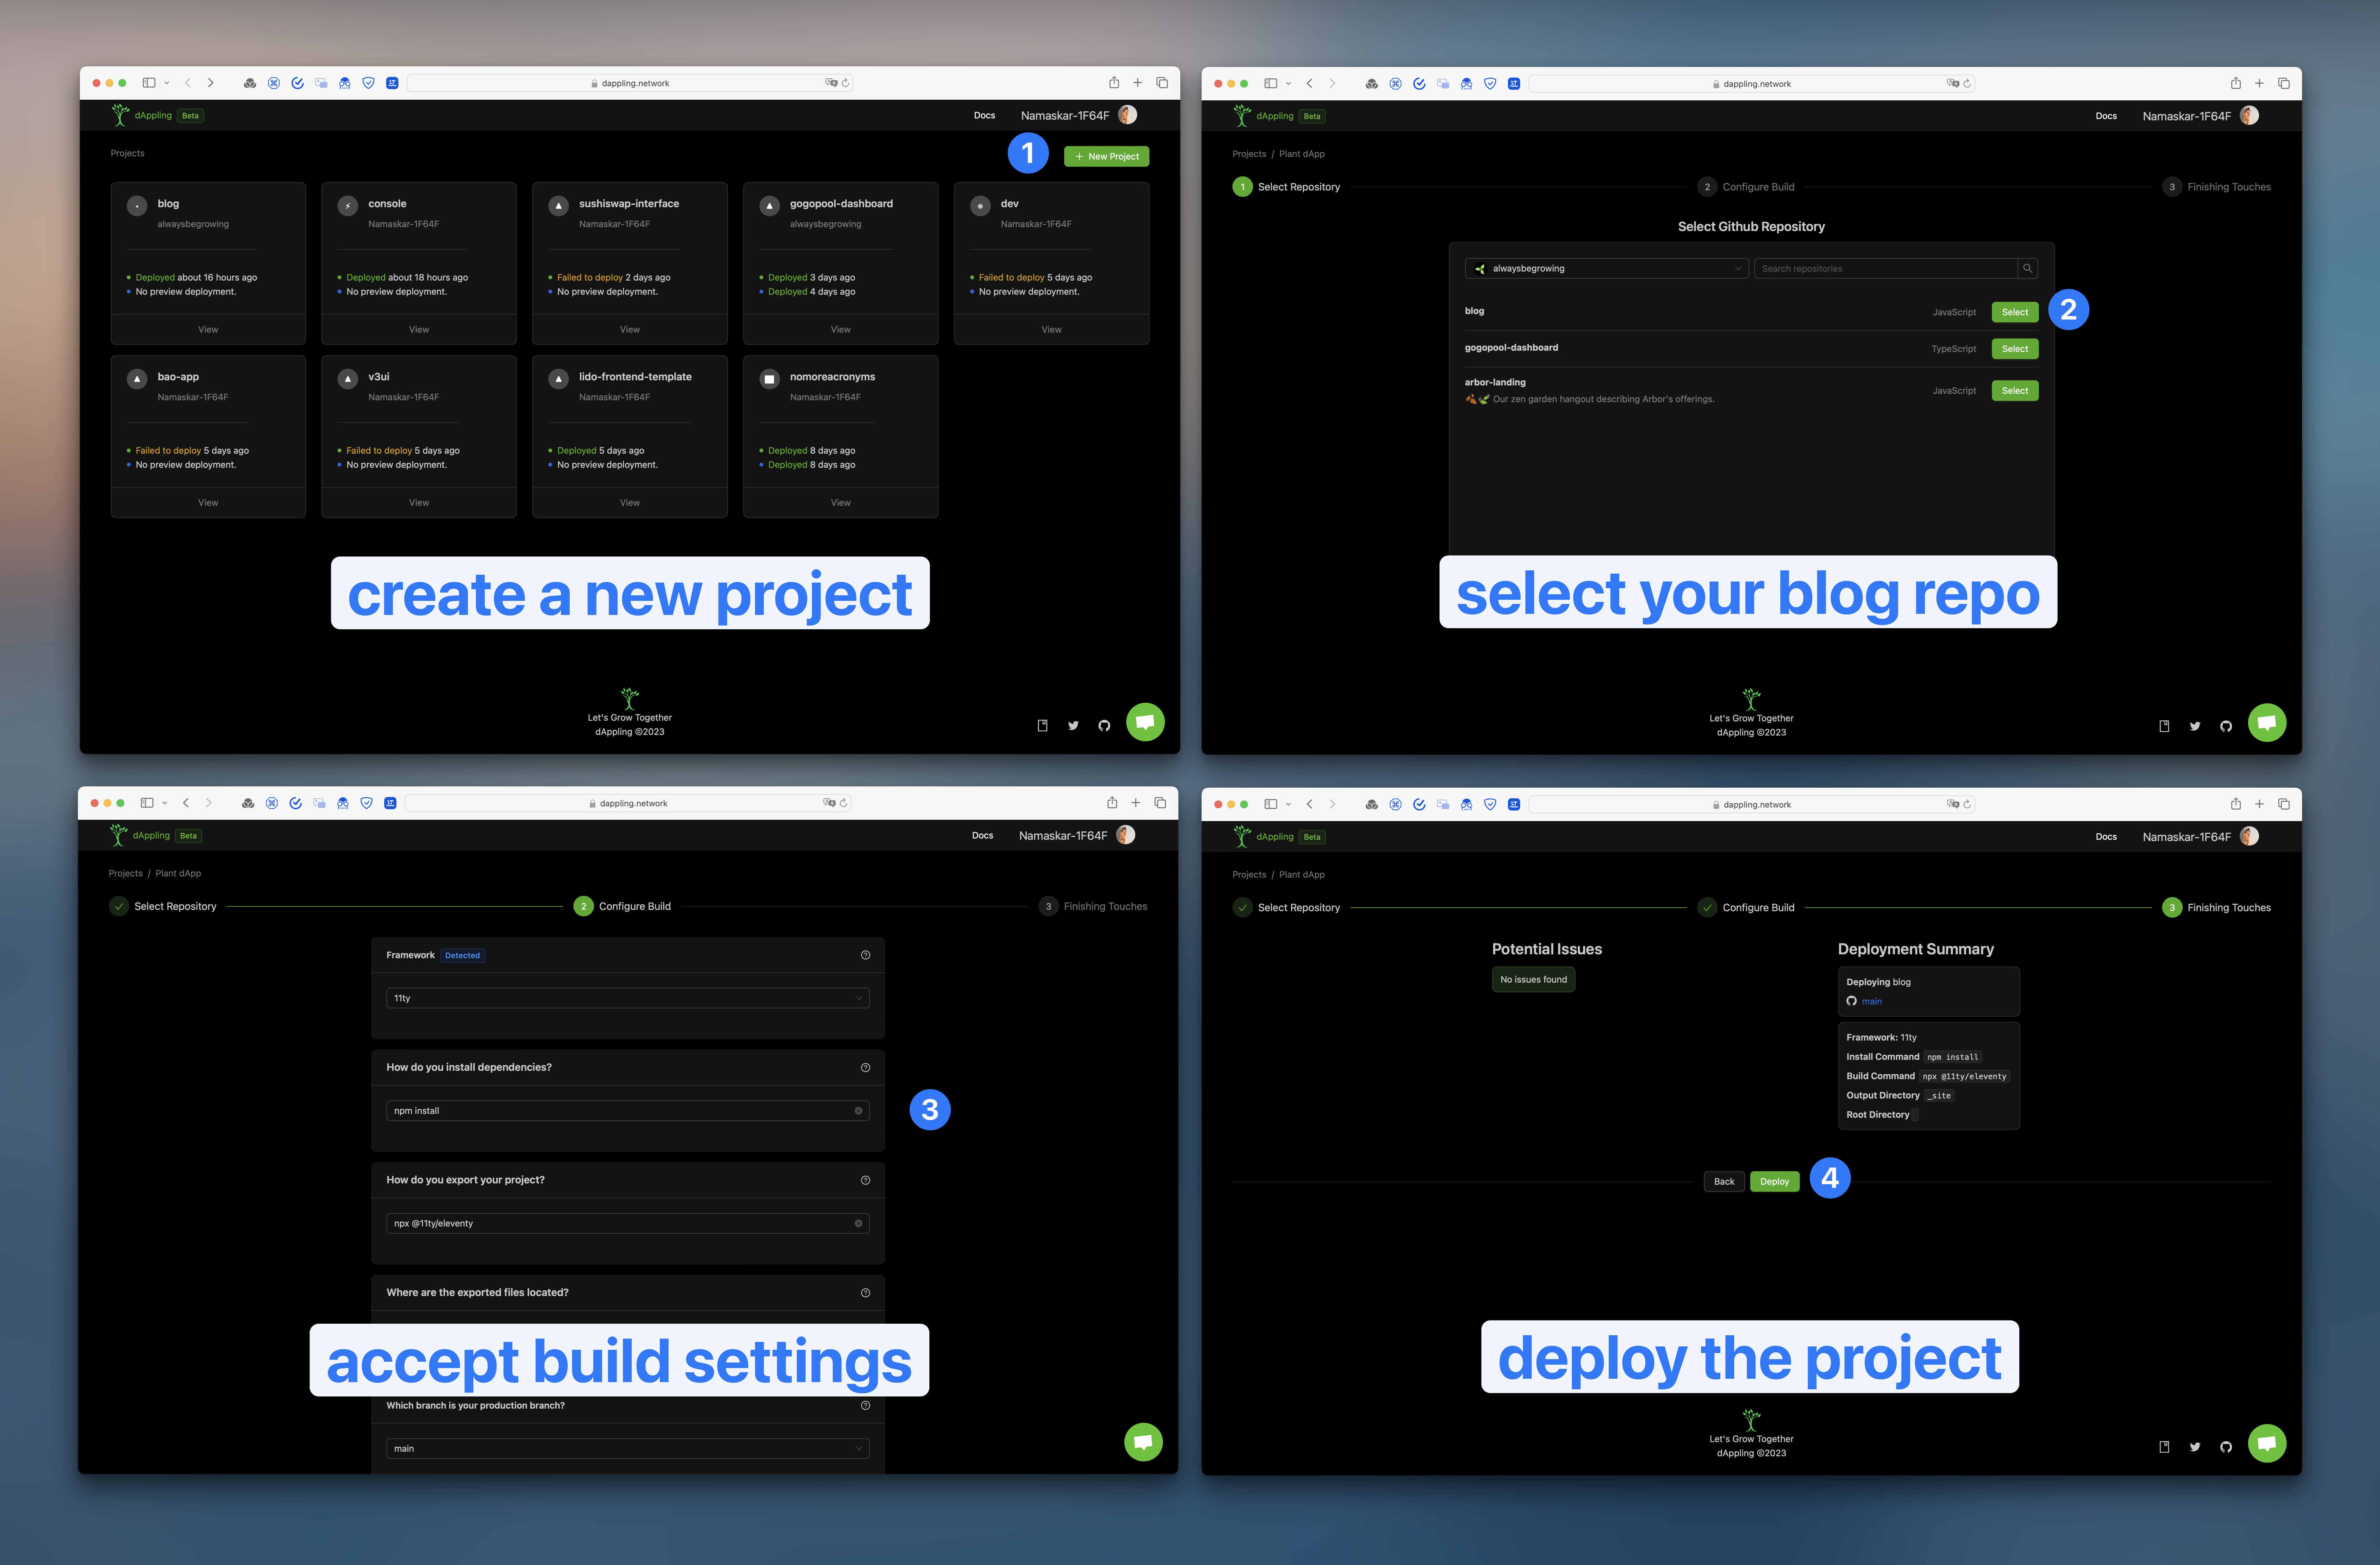
Now this should be the easy part. Head over to dAppling Network, sign in, and create a new project. The steps for this are:
- Sign-up and authorize the GitHub App.
- Create a new project and select your blog repo.
- Accept the build settings, they should be automatically detected.
- Hit that big deploy button, and wait!
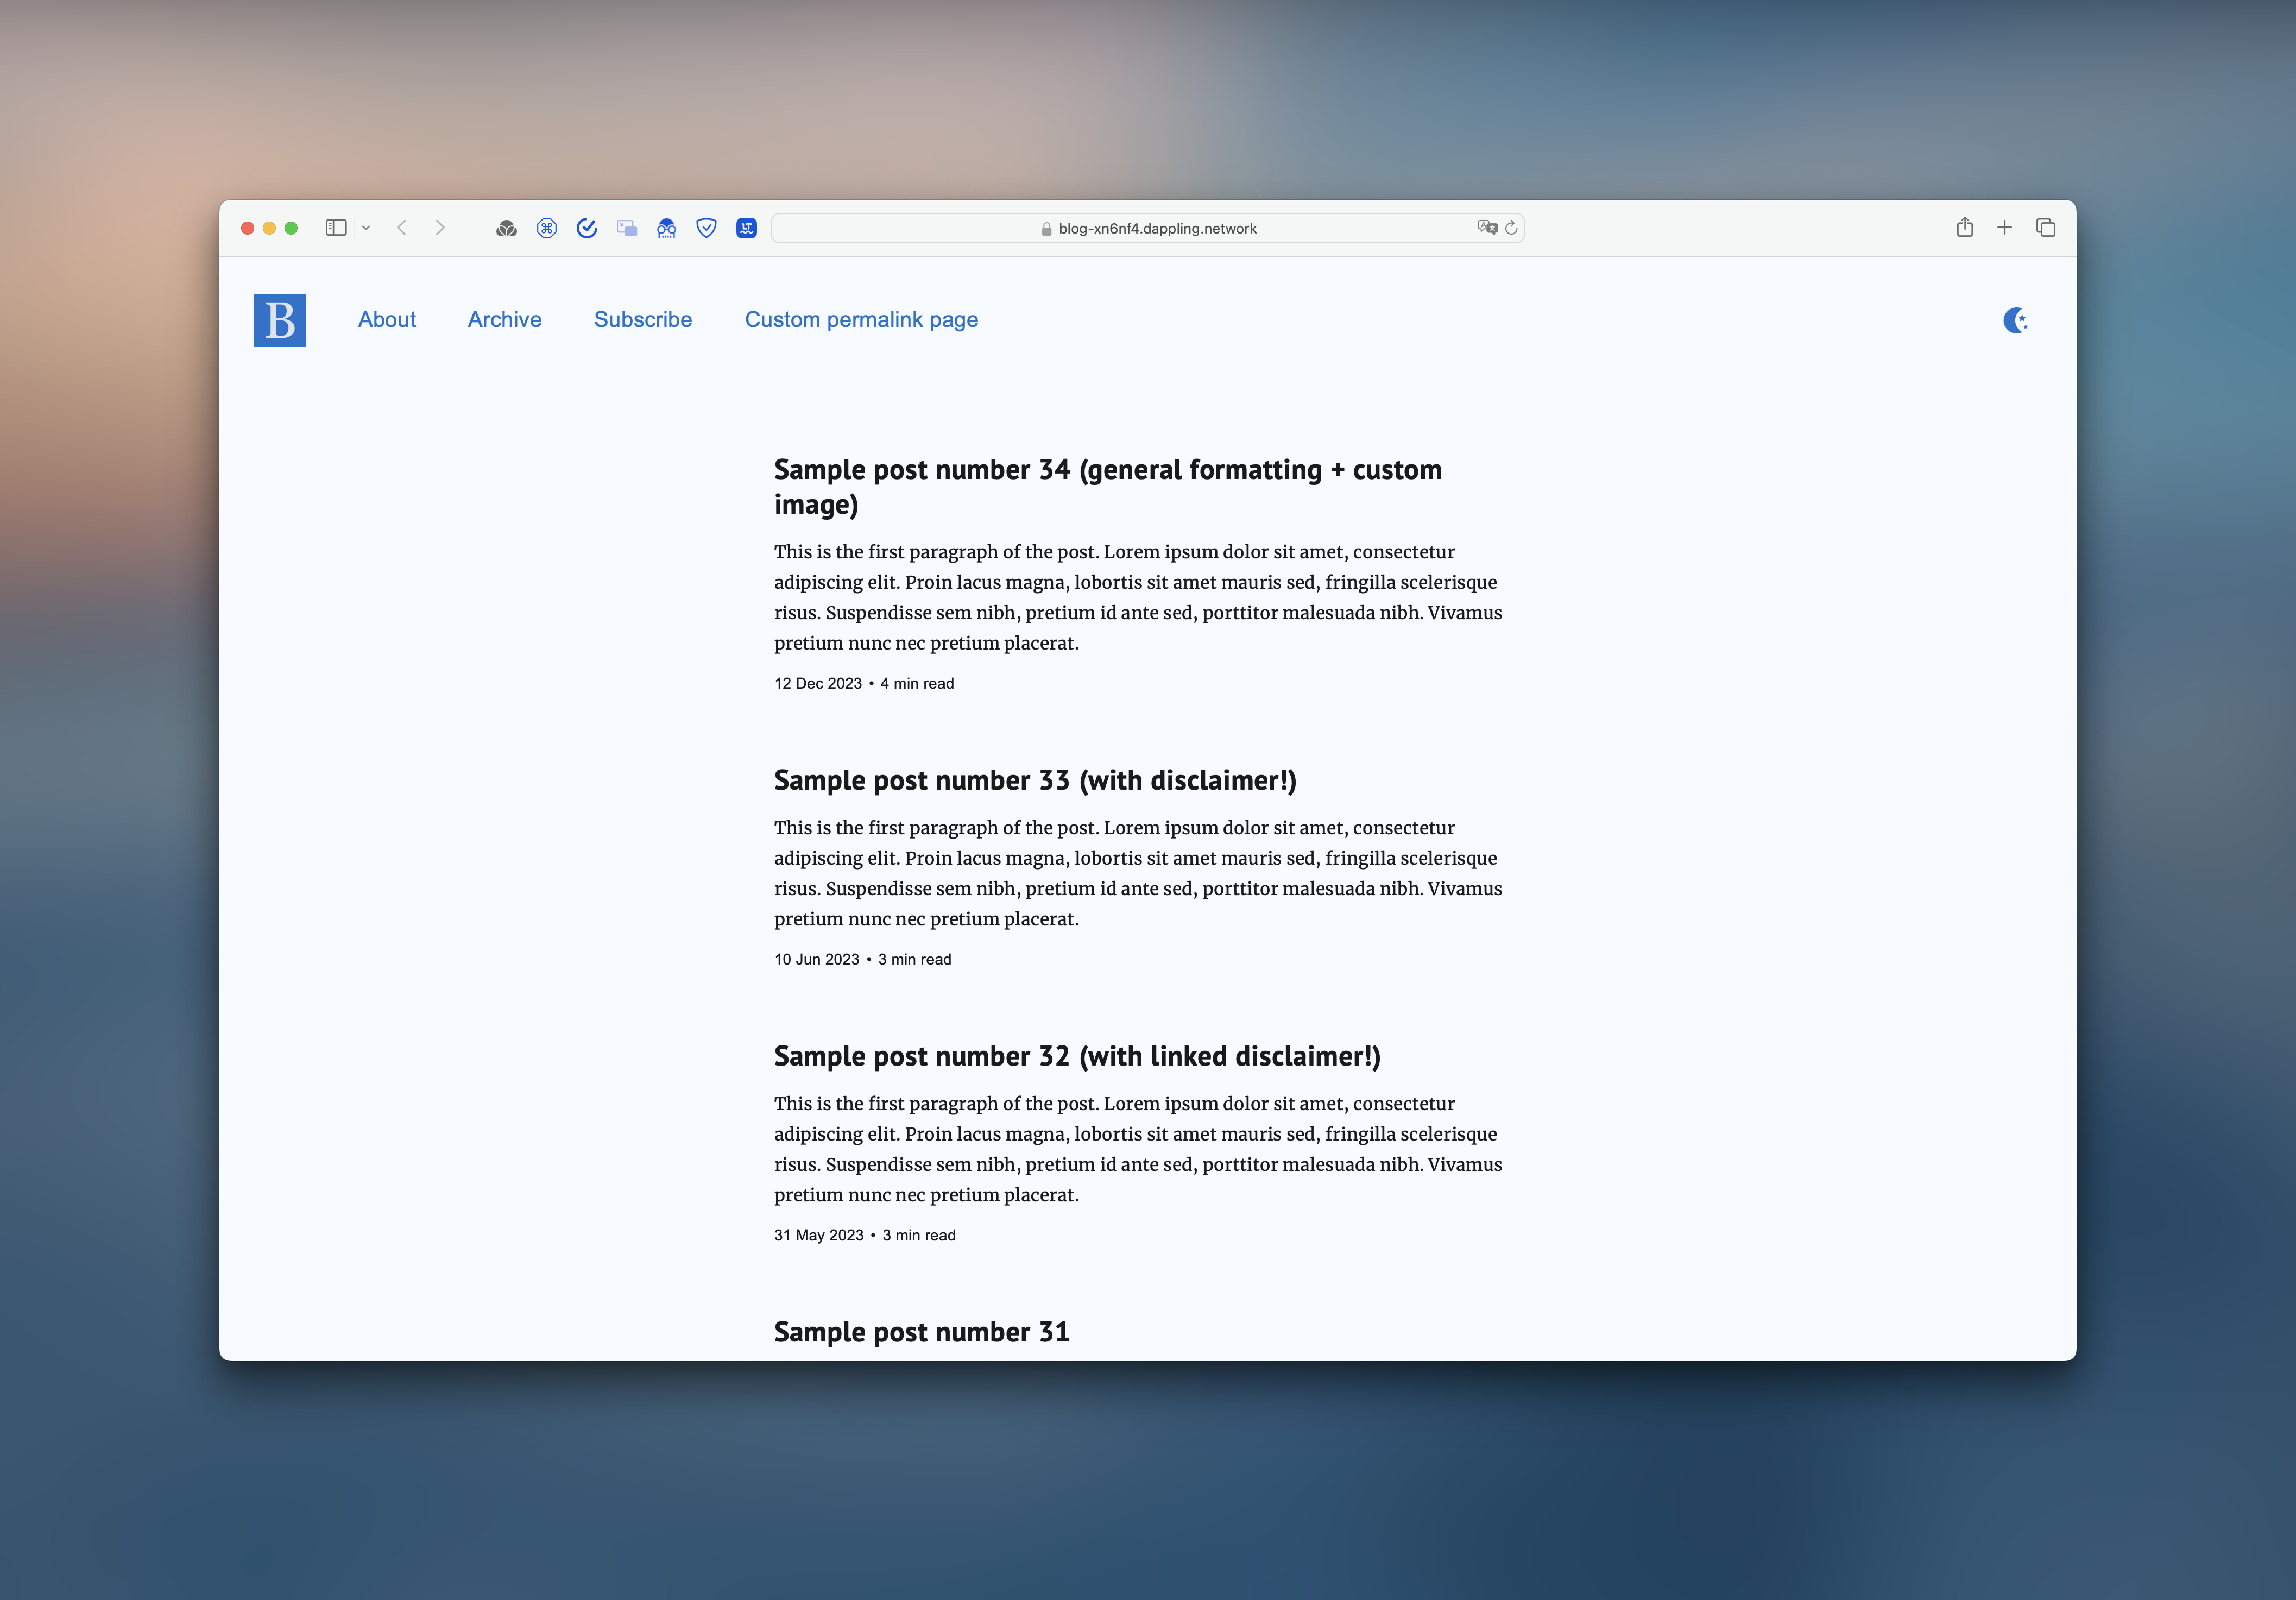
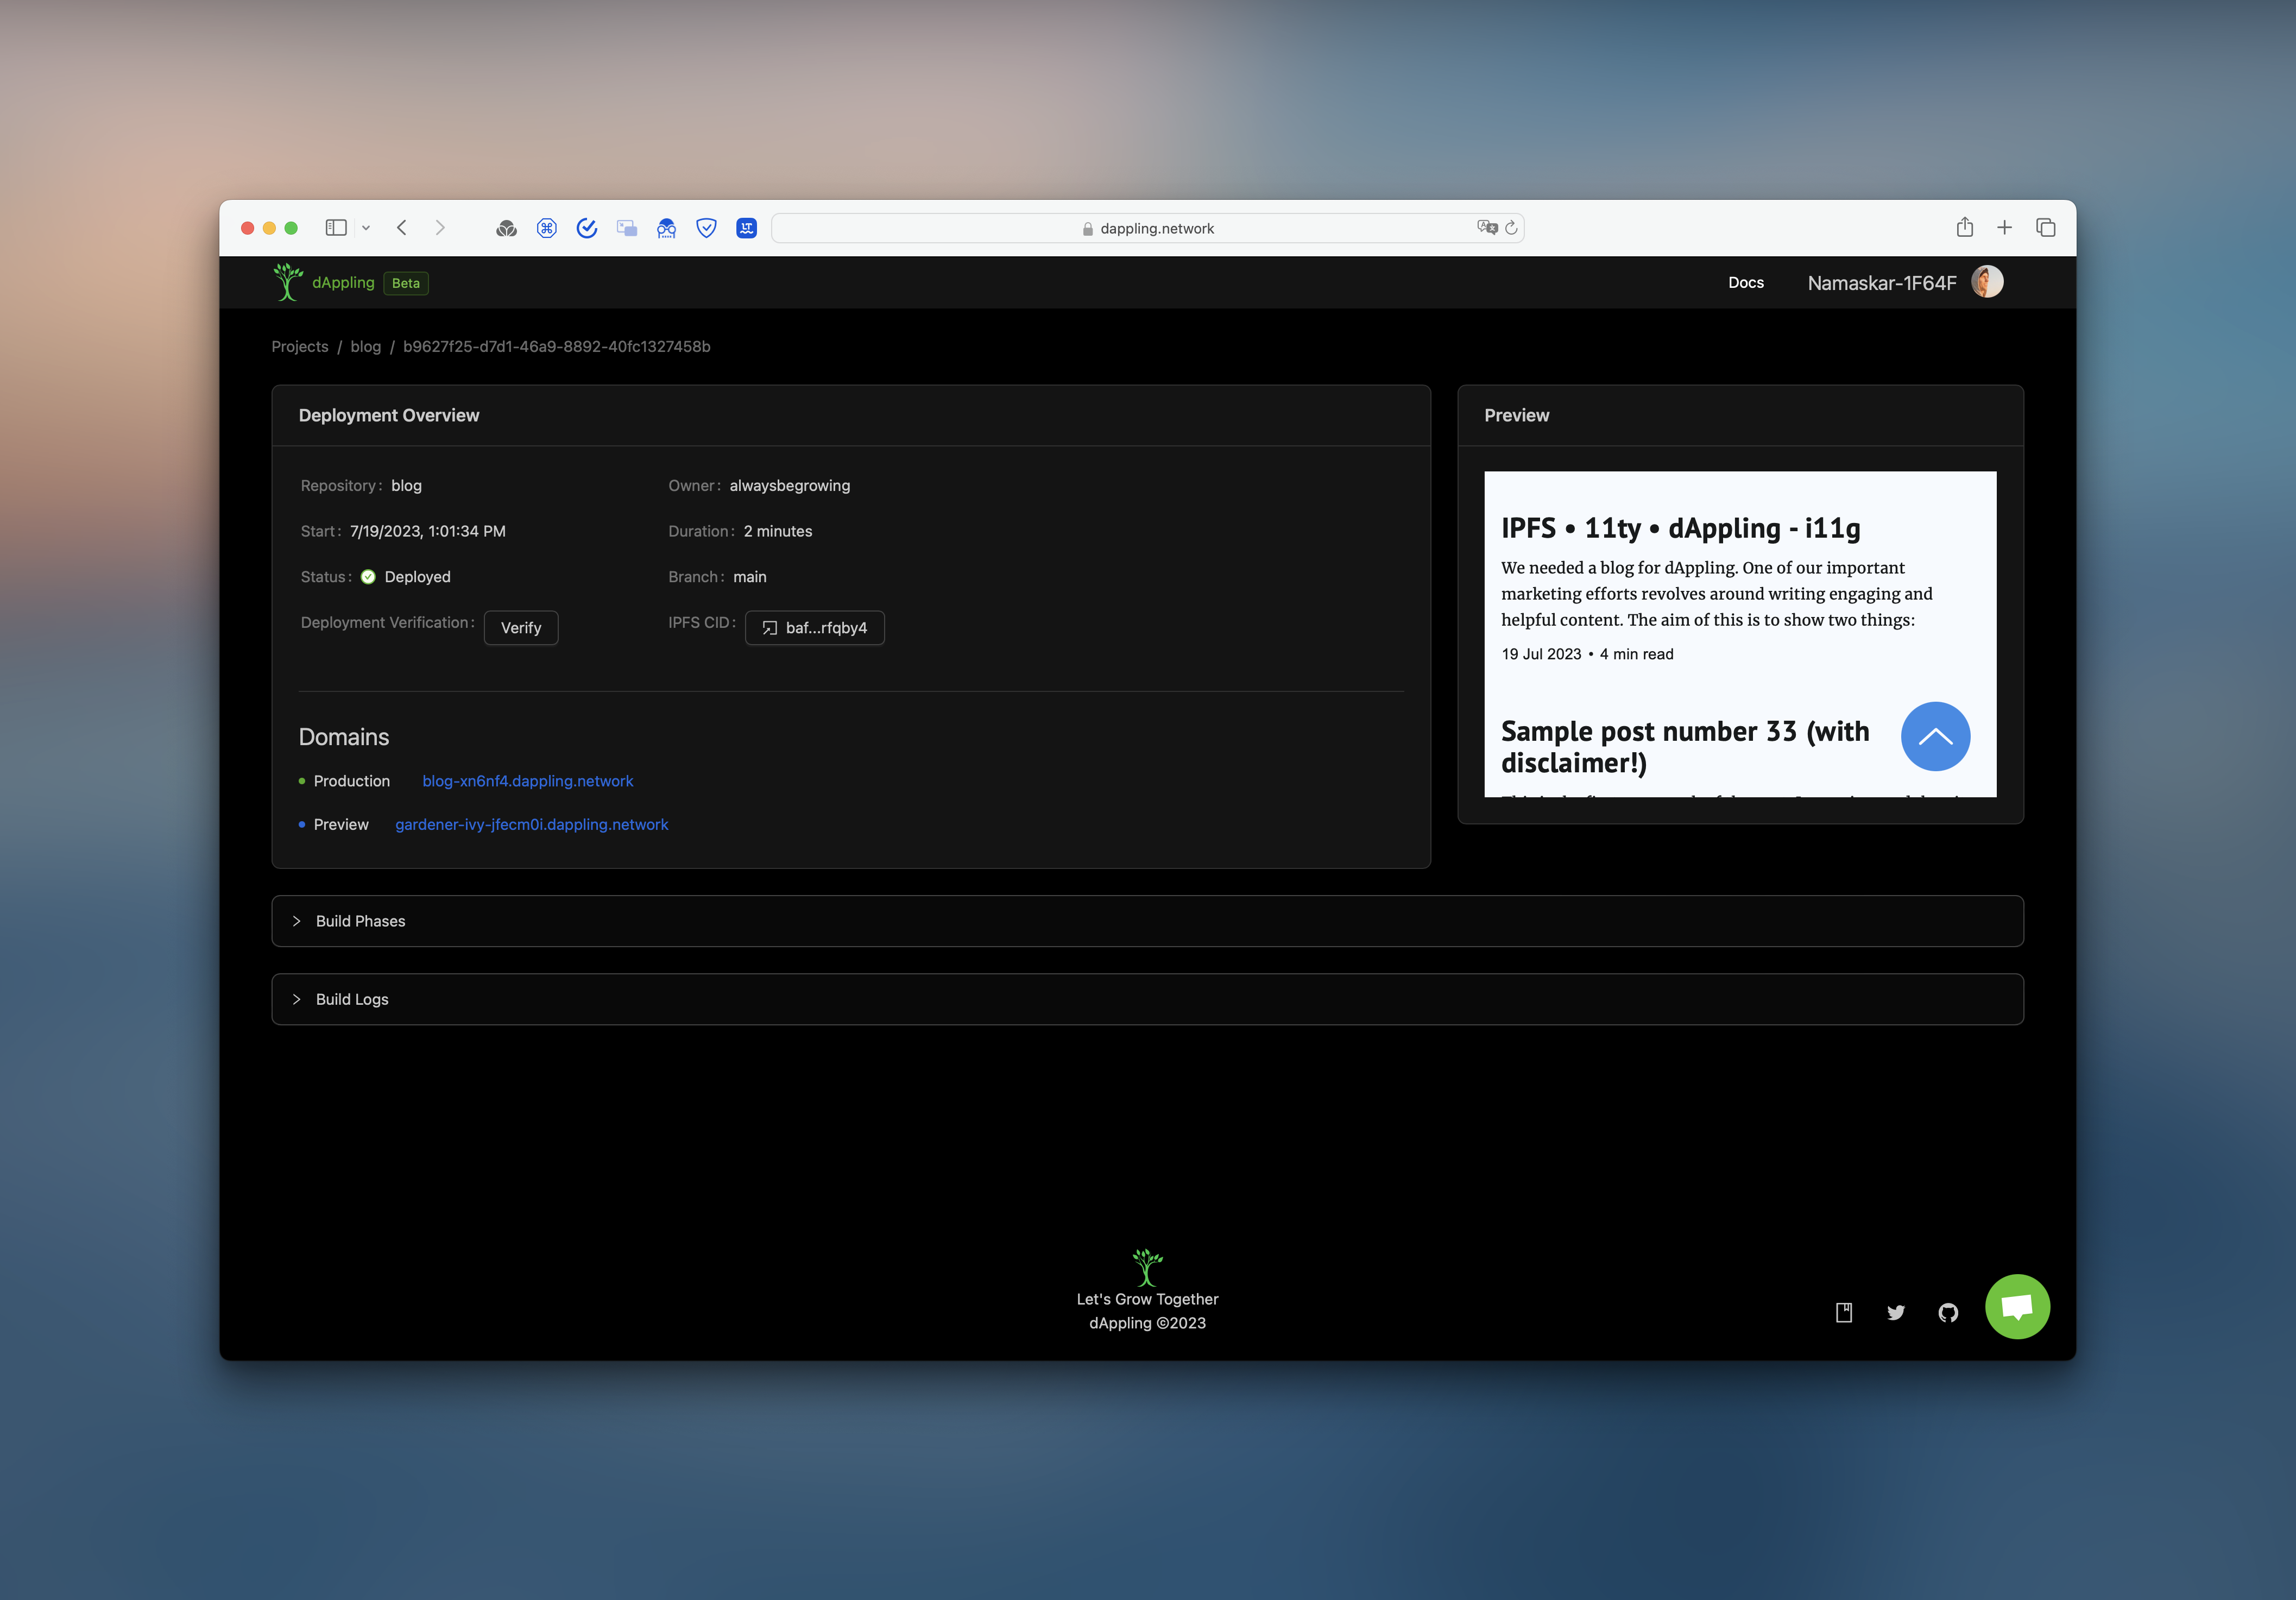
You’ll wait a bit while the code is deployed, and you should get a link to the site deployed on IPFS. We have a friendly URL like blog-xn6nf4.dappling.network and the template should show up!
Update your dAppling Project
Now, to update a new blog post, you can either update your “main” branch, by either pushing directly or by creating a PR and merging it. I will be pushing directly to the branch and let dAppling deploy the site. After that, the site should be live!
Artifacts
I pushed it after writing that paragraph, and it created a preview URL for me. You can view the deployment on dAppling.
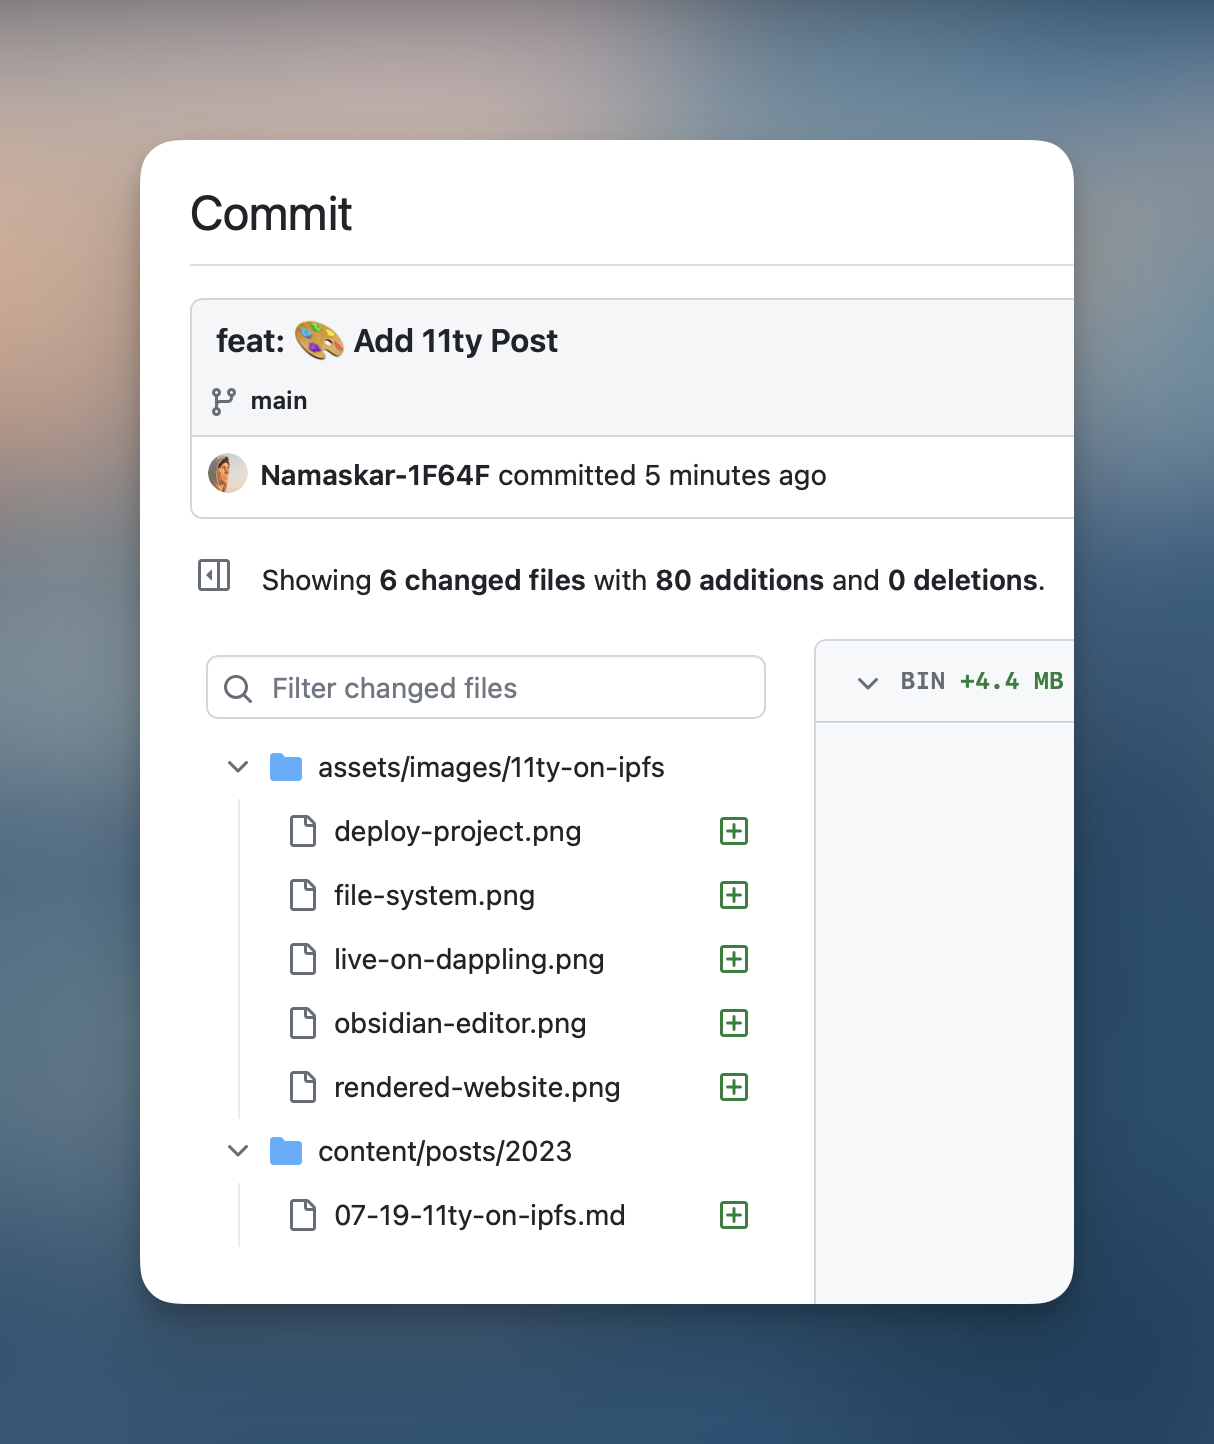
And the Commit on GitHub
What Did I learn?
- The creation of this blog post was slower than using an editor online. This is mainly from images. I have to take screenshots and then save them locally. I prefer this over hosting them on a website because having them hosted alongside the website guarantees they will always be available, whereas an online service might be down.
- Introducing changes to the blog layout is harder than, say Notion, as there aren’t many controls over the typed markdown. Luckily, I like the way the site looks out-of-the-box.
- I dare conclude that this blog post took me about 4 hours. That is long! I hope it was because of the do-as-I-go approach.
Conclude
I think this set-up with writing and updating in a single place and having deployment handled by dAppling will be convenient enough to use right now. There are some changes I still need to make, like branding on the site. Of course, we also miss out on features like comments and engagement. I guess we will learn more when I make the next post trying to figure out how the heck I syndicate this everywhere.
Thank you for your time, and if you have any questions, do reach out.